Simple Sourdough Bread Recipe with June the Starter
A real-life schedule that works around family time
Your Simple Sourdough Bread Journey
Let’s be honest – we all have bad loaves! Even experienced bakers burn their bread sometimes or let the dough overproof. These “mistakes” are actually valuable learning opportunities. Sometimes I deliberately let dough overproofed just to understand how far I can push it. Each failed loaf teaches you something new about the process

Real Talk About Learning:
- Burned loaves teach you about your oven’s hot spots
- Overproofed dough shows you what “too far” looks like
- Dense loaves help you understand hydration
- Flat bread teaches you about dough strength
- Weird shapes build your shaping skills.
Don’t throw out those “mistake” loaves – they’re your best teachers! Take notes, adjust, and try again. Sometimes those experiments lead to unexpected discoveries. Remember, every baker, no matter how experienced, still has loaves that don’t turn out as planned. That’s how we learn and grow in our baking journey.
Rehydrating June Starter
Don’t have June? Head over to our shop!
- Take your dehydrated June starter chips and break them into smaller pieces
- In a clean jar, mix together:
- 2 tablespoons (30g) room temperature filtered water
- 2 tablespoons (30g) unbleached organic all-purpose flour
- First Feeding Schedule:
- Cover loosely and wait 24 hours
- After 24 hours, discard half the mixture
- Feed with 30g flour and 30g water
- Repeat this feeding every 24 hours for 2-4 days
- How to Know June is Ready:
- The most important sign: June will double in size!
- When you see June double in size between feedings, she’s ready to make bread
- This usually takes 2-4 days of regular feedings depending of room temp
- Now you can start your regular feeding schedule and begin baking

What You’ll Need
- Big mixing bowl I absolutely love this bowl set! the large bowl is perfect for two loaves at once.
- Kitchen scale Grab mine here
- Bench scraper
- Clean kitchen towel
- Dutch oven with lid I have this one
- Proofing basket or bowl with towel
- Sharp knife for scoring razor blade
Ingredients
- 100g active June starter or one you made Get June here
- 475g unbleached organic all-purpose flour (available at most grocery stores)
- 325g filtered water
- 10g salt

This post contains affiliate links, which means I make a small commission at no extra cost to you. See my full disclosure here
Before You Start
Your June starter should be well-fed and happy. You will know June is ready to bake when she doubles in size after feeding. If it’s been more than a week since feeding, give June a feeding around lunchtime on baking day. Otherwise, your regular feeding schedule is fine
Evening Recipe (Start after dinner)
Making the Dough
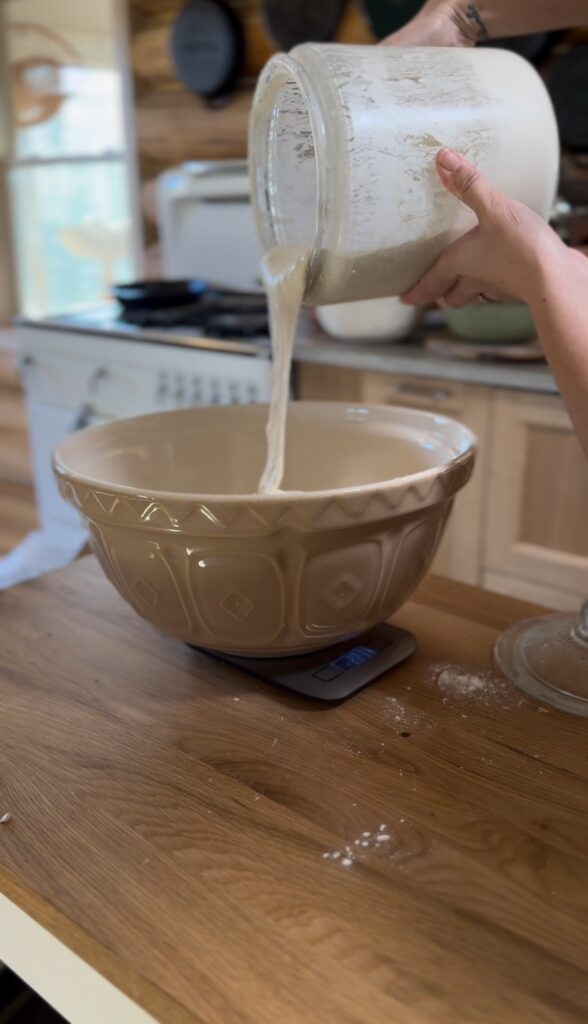
- In your big bowl mix together:
- 325g water
- 100g June starter
- 475g bread flour
- 10g salt
Mix everything until you don’t see any dry flour.
- Cover your bowl with a kitchen towel.

Evening Stretches
- Over the next few hours before bed, come back to the dough 2-3 times
- Each time, grab the dough from one side, stretch it up and fold it over
- Turn your bowl and repeat on all sides
- Don’t worry if you only get one stretch in before falling asleep – the bread will still turn out fine!
- Cover between each stretch
Overnight
- Leave your covered dough on the counter overnight
- The dough will rise and get bubbly while you sleep
Next Morning
- Dump your dough onto a floured counter
- This is when you really work the dough:
- Stretch and fold it several times
- Really work it well as you shape it into a round
- Keep folding and shaping until it feels tight and smooth
- Put it in your proofing basket or towel-lined bowl
- Dust your basket/bowl well with flour first
- Place dough smooth side down
- Cover with a towel
- Put it in the fridge until you’re ready to bake
- Can stay in fridge anywhere from 4-24 hours
- Bake whenever it fits your schedule
Baking Time
⚠️ SAFETY FIRST – BURN WARNING ⚠️
The Dutch oven and lid will be EXTREMELY hot at 500°F Burns happen easily especially:
- When removing the lid after the first 25 minutes
- If you accidentally touch any part of the pot
- When you forget the lid is hot (this happens to everyone!)
Always use thick oven mitts and stay focused when handling the Dutch oven.
- Put your Dutch oven in the oven and heat to 500°F
- Let it heat up for about 30 minutes
- Yes, 500°F is hot! This high heat gives you a great crust
- Take your dough out of the fridge:
- Flip it onto parchment paper
- Cut a slash across the top
- Put it in your hot Dutch oven
- Be extra careful – use good oven mitts!
- Bake covered at 500°F for 25 minutes
- CAREFULLY remove lid (this is when most burns happen!)
- Keep your arms and face away from the steam
- Put the hot lid somewhere safe where no one will touch it
- Lower temperature to 475°F
- Bake another 15 minutes until deep brown

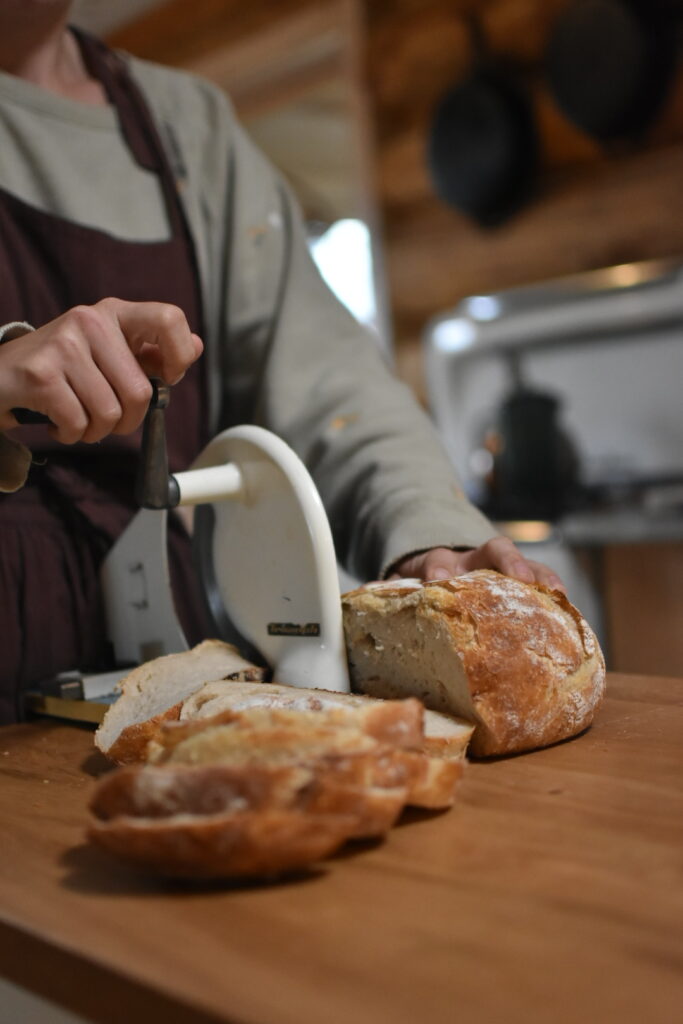
Finishing Up
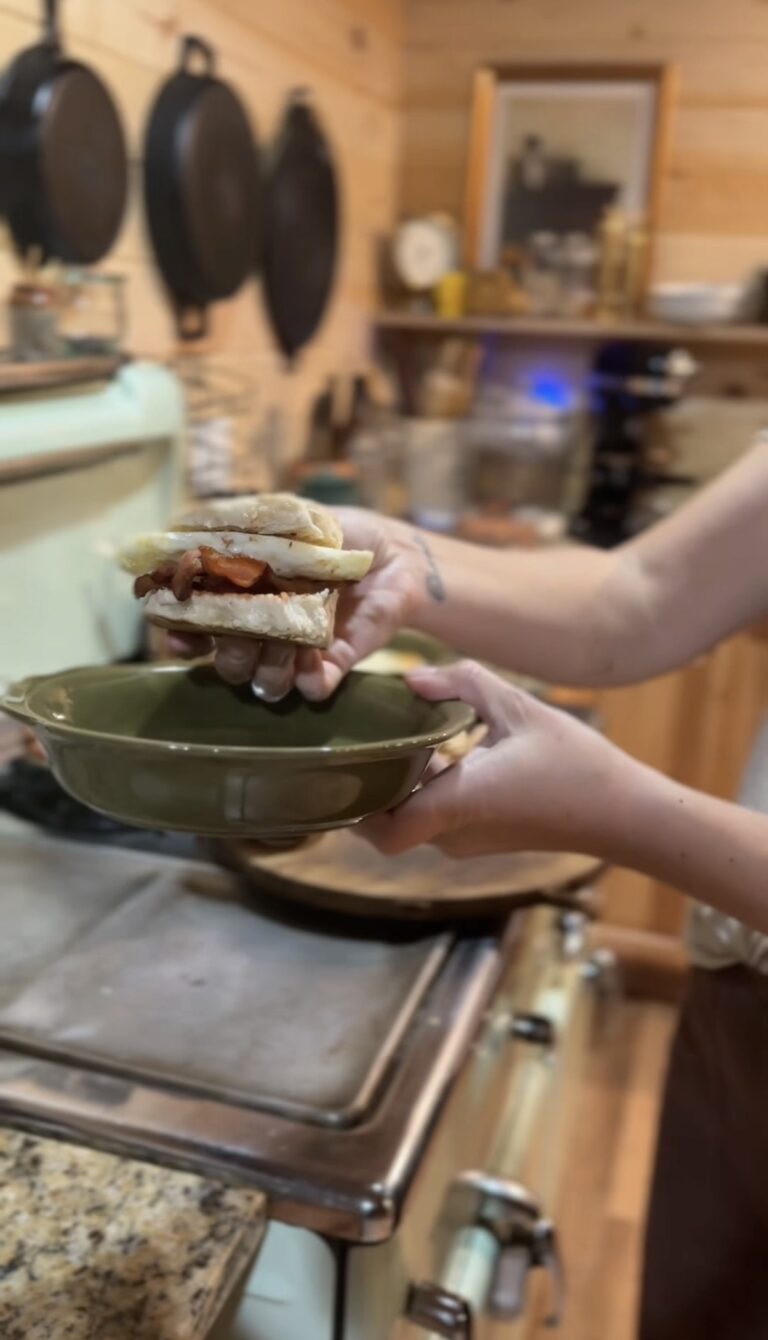
- Let your bread cool for at least an hour before cutting
- Store in a paper bag or wrapped in a towel
Tips From Experience
- Regular unbleached organic all-purpose flour works great – no need for fancy bread flour
- Most grocery stores carry unbleached organic all-purpose flour in their baking aisle
- If your dough feels too sticky, dust your hands with flour
- Don’t worry if you miss a stretch and fold – the bread is forgiving
- The longer it stays in the fridge, the more sour it will taste
- If June hasn’t been fed in a while, that lunchtime feeding makes a big difference
- Trust your instincts, you’ll get to know how the dough should feel
Keeping Your Bread Fresh
- Keeps on the counter for 3-4 days we use bread bags or ziplock bags
- Slice and freeze what you won’t eat right away
- Toast frozen slices straight from the freezer
Remember: This is a relaxed way to make bread. It fits around your family schedule and still makes a great loaf!
Simple Sourdough Bread Recipe with June the Starter
Equipment
- What You’ll Need
- Big mixing bowl
- Kitchen scale
- Bench scraper
- Clean kitchen towel
- Dutch oven with lid
- Proofing basket or bowl with towel
- Sharp knife for scoring razor blade
Ingredients
Ingredients
- 100 g active June starter or one you made
- 475 g unbleached organic all-purpose flour available at most grocery stores
- 325 g filtered water
- 10 g salt
Instructions
Rehydrating June Starter
- Take your dehydrated June starter chips and break them into smaller pieces
- In a clean jar, mix together:
- 2 tablespoons (30g) room temperature filtered water
- 2 tablespoons (30g) unbleached organic all-purpose flour
- First Feeding Schedule:
- Cover loosely and wait 24 hours
- After 24 hours, discard half the mixture
- Feed with 30g flour and 30g water
- Repeat this feeding every 24 hours for 2-4 days
How to Know June is Ready:
- The most important sign: June will double in size!
- When you see June double in size between feedings, she’s ready to make bread
- This usually takes 2-4 days of regular feedings depending of room temp
- Now you can start your regular feeding schedule and begin baking
Evening Recipe (Start after dinner)
- Making the Dough
- In your big bowl, mix together:
- 325g water
- 100g June starter
- 500g bread flour
- 10g salt
- Mix everything until you don’t see any dry flour.
- Cover your bowl with a kitchen towel.
Evening Stretches
- Over the next few hours before bed, come back to the dough 2-3 times
- Each time, grab the dough from one side, stretch it up and fold it over
- Turn your bowl and repeat on all sides
- Don’t worry if you only get one stretch in before falling asleep – the bread will still turn out fine!
- Cover between each stretch
Overnight
- Leave your covered dough on the counter overnight
- The dough will rise and get bubbly while you sleep
Next Morning
- Dump your dough onto a floured counter
- This is when you really work the dough:
- Stretch and fold it several times
- Really work it well as you shape it into a round
- Keep folding and shaping until it feels tight and smooth
- Put it in your proofing basket or towel-lined bowl
- Dust your basket/bowl well with flour first
- Place dough smooth side down
- Cover with a towel
- Put it in the fridge until you’re ready to bake
- Can stay in fridge anywhere from 4-24 hours
- Bake whenever it fits your schedule
Baking Time
⚠️ SAFETY FIRST – BURN WARNING ⚠️
- The Dutch oven and lid will be EXTREMELY hot at 500°F. Burns happen easily, especially:
- When removing the lid after the first 25 minutes
- If you accidentally touch any part of the pot
- When you forget the lid is hot (this happens to everyone!)
- Always use thick oven mitts and stay focused when handling the Dutch oven.
- Put your Dutch oven in the oven and heat to 500°F
- Let it heat up for about 30 minutes
- Yes, 500°F is hot! This high heat gives you a great crust
- Take your dough out of the fridge:
- Flip it onto parchment paper
- Cut a slash across the top
- Put it in your hot Dutch oven
- Be extra careful – use good oven mitts!
- Bake covered at 500°F for 25 minutes
- CAREFULLY remove lid (this is when most burns happen!)
- Keep your arms and face away from the steam
- Put the hot lid somewhere safe where no one will touch it
- Lower temperature to 475°F
- Bake another 15 minutes until deep brown