The Best Chewy Chocolate Chip Cookies from Our Farmhouse Kitchen
I never thought a pregnancy craving would lead to our farm’s most requested recipe, but here we are! These aren’t just any chocolate chip cookies – they’re the result of countless late-night baking sessions in our Hawaii kitchen back in 2016, when store-bought cookies just weren’t cutting it during my pregnancy with Bowie.

This post contains affiliate links, which means I make a small commission at no extra cost to you. See my full disclosure here
My husband would bring home cookies from the army base where he worked, trying his best to satisfy those intense pregnancy cravings. But something about those packaged cookies, with their long list of artificial ingredients, left me wanting more. Looking back, I’m grateful those disappointing cookies pushed me to create something better.
As a newlywed determined to master homemade treats, I rolled up my sleeves and started experimenting. This recipe became my first “from scratch” triumph – a perfectly chewy chocolate chip cookie that’s now become legendary at Hardmead Farm. Our friends joke that no farm gathering is complete without a batch of these coming out of the oven.
Why are these cookies different? It’s all in the details: the precise melting of butter in my trusty cast iron pan, the careful mixing technique, and the exact moment to pull them from the oven. But most importantly, they’re made with simple, real ingredients – the kind we believe in here at our farm.
The Secret to Perfect Farmhouse Cookies
Prep Time: 15 minutes
Bake Time: 17 minutes
Makes: 24 irresistible cookies
What You’ll Need
Kitchen Tools:
- 2 insulated cookie sheets (the double-layer kind – trust me, they’re worth it! Find mine here!)
- Medium cookie dough scoop (for perfectly uniform cookies This is the one I use)
- Cast iron pan (my secret weapon for butter melting The new version of my pot)
- Metal scraper
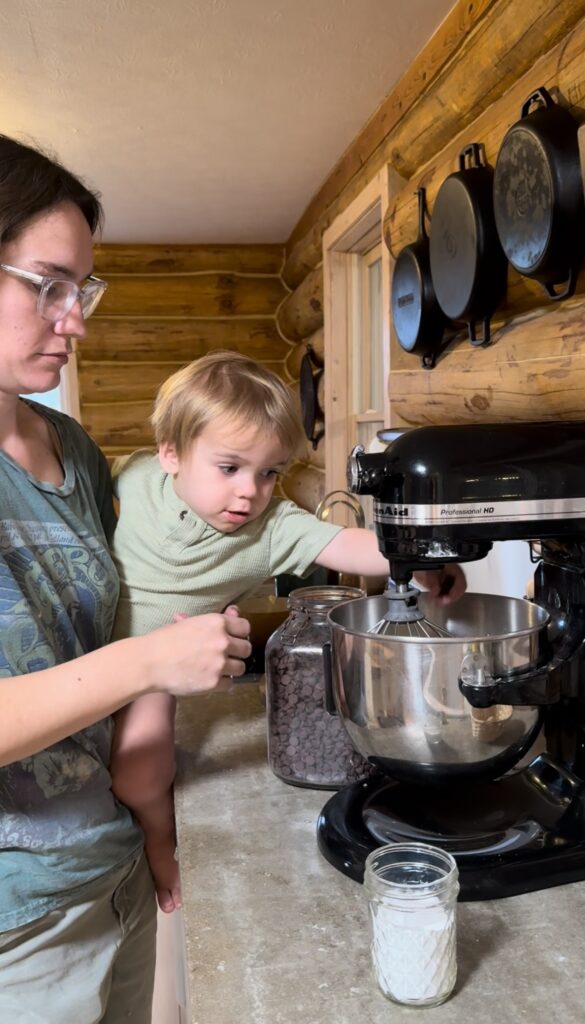
- Your choice of mixer (stand, handheld )
Ingredients:
- 3/4 cup butter
- 1 cup brown sugar (packed)
- 1/2 cup regular sugar
- 1 whole egg plus 1 egg yolk (farm-fresh makes a difference!)
- 2 cups all-purpose flour
- 1/2 teaspoon salt
- 1/2 teaspoon baking soda
- A generous splash of pure vanilla extract
- 1 cup chocolate chips
Instructions
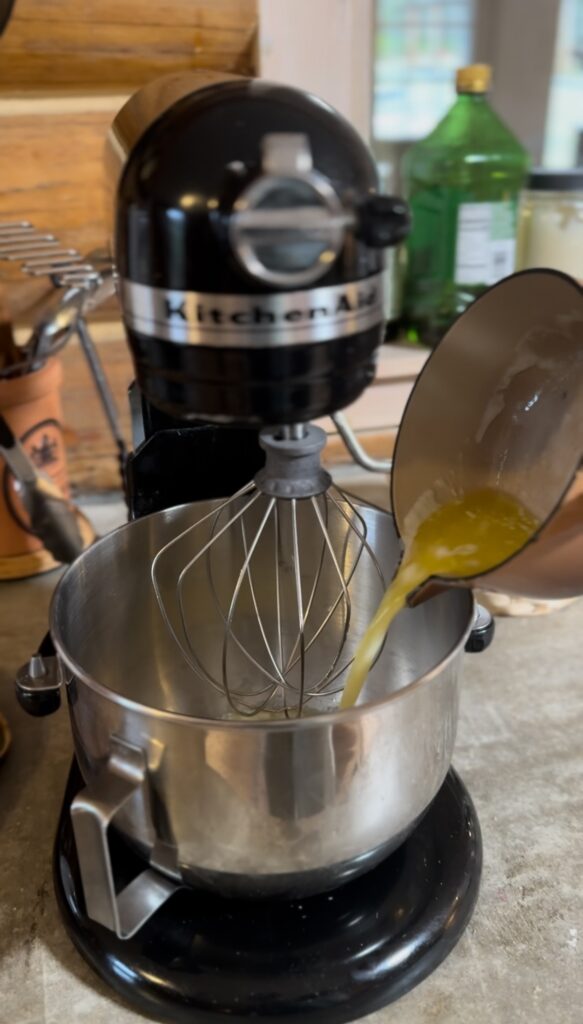
- Pre heat the oven at 325 degrees, then melt that butter! Use a cast iron pan on low heat. You want it just melted, not hot. This is crucial – hot butter will give you sad cookies that spread too much. Hot butter can also cook the eggs in the mixing bowl
- While the butter’s cooling a bit, mix your brown and white sugars in a large bowl.
- Once the butter’s just warm (not hot!), mix it into your sugars until well combined.
- Add your egg, extra yolk, and that splash of vanilla. Mix just until they’re happy together.
- Then add your flour, salt, and baking soda.
- Here’s where people often go wrong – when combining wet and dry ingredients, mix JUST until they’re combined. Overmixing is the enemy of chewy cookies! Use your stand mixer, hand mixer, or whisk, but stop as soon as the flour disappears.
- Fold in those chocolate chips – gentle does it!
- Using your medium cookie scoop (my favorite tool for consistent cookies), drop dough onto those ungreased insulated cookie sheets. Give them some space – about 2 inches apart.
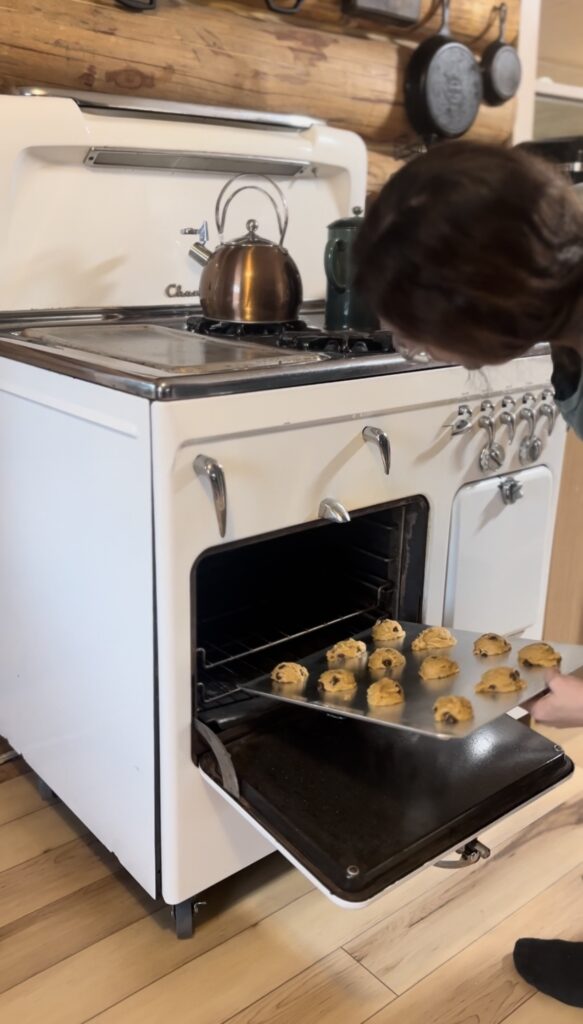
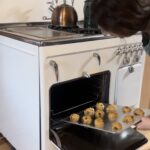
- Now the magic number: 17 minutes, or until the edges just start to brown. Here’s the trick – take them out before they look done! They should NOT feel firm. They’ll keep baking as they cool.
- Yes, they’ll stick to the pan at first – that’s normal! Let them cool a bit, then slide them off with your metal scraper.
The Real Secret to Success
- Never let that butter get too hot
- Mix minimally – tough cookies come from overmixing
- Pull them out while they still look a bit underdone
- Use those double-layer cookie sheets – they prevent burning.
Keeping Your Cookies Fresh
Store them in a ziplock bag or my favorite – an old-fashioned metal biscuit tin. Though honestly? They rarely last more than a day or two around here!
A Note from Our Farmhouse
Every time I make these cookies, I’m transported back to that tiny kitchen in Hawaii, figuring out this recipe while expecting our first baby. They’ve become more than just cookies – they’re a piece of our family’s story, made with love in our farmhouse kitchen.
Want more farm-fresh recipes and stories? Follow us on Instagram!
The Best Chewy Chocolate Chip Cookies from Our Farmhouse Kitchen
Ingredients
- 3/4 cup butter
- 1 cup brown sugar packed
- 1/2 cup regular sugar
- 1 whole egg plus 1 egg yolk farm-fresh makes a difference!
- 2 cups all-purpose flour
- 1/2 teaspoon salt
- 1/2 teaspoon baking soda
- A generous splash of pure vanilla extract
- 1 cup chocolate chips
Instructions
- Pre heat the oven at 325 degrees, then melt that butter! Use a cast iron pan on low heat. You want it just melted, not hot. This is crucial – hot butter will give you sad cookies that spread too much. Hot butter can also cook the eggs in the mixing bowl
- While the butter’s cooling a bit, mix your brown and white sugars in a large bowl.
- Once the butter’s just warm (not hot!), mix it into your sugars until well combined.
- Add your egg, extra yolk, and that splash of vanilla. Mix just until they’re happy together.
- Then add your flour, salt, and baking soda.
- Here’s where people often go wrong – when combining wet and dry ingredients, mix JUST until they’re combined. Overmixing is the enemy of chewy cookies! Use your stand mixer, hand mixer, or whisk, but stop as soon as the flour disappears.
- Fold in those chocolate chips – gentle does it!
- Using your medium cookie scoop (my favorite tool for consistent cookies), drop dough onto those ungreased insulated cookie sheets. Give them some space – about 2 inches apart.
- Now the magic number: 17 minutes, or until the edges just start to brown. Here’s the trick – take them out before they look done! They should NOT feel firm. They’ll keep baking as they cool.
- Yes, they’ll stick to the pan at first – that’s normal! Let them cool a bit, then slide them off with your metal scraper.