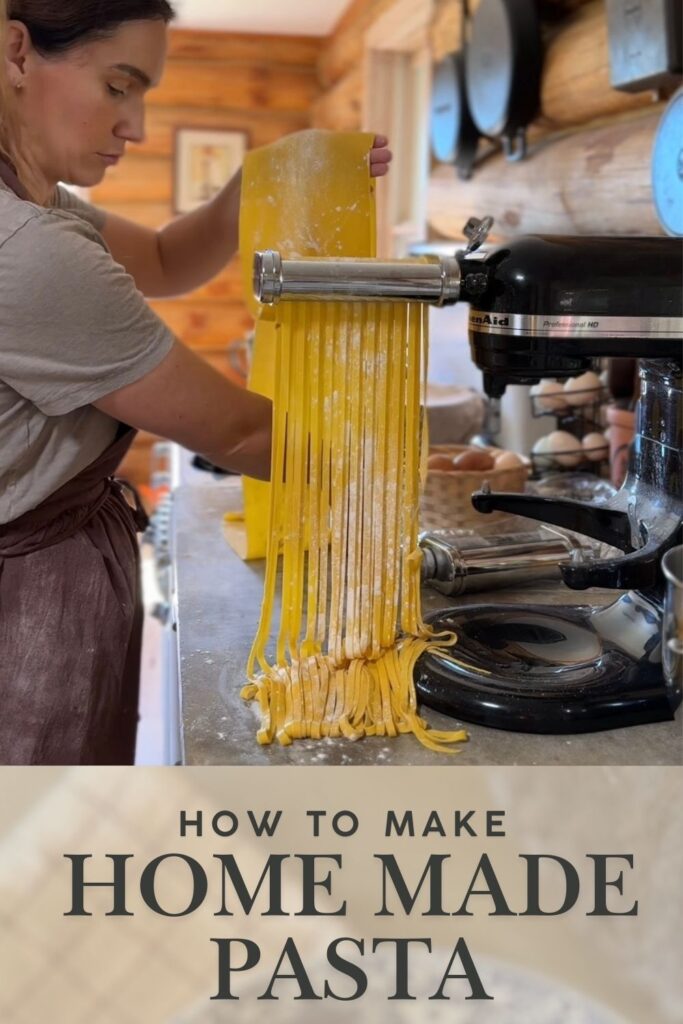
Homestead Pasta Recipe: The Best Way to Use Extra Eggs from Your Laying Hens
Why This Homemade Pasta Recipe Will Change Your Life
Are you drowning in fresh eggs from your backyard chickens? Looking for the perfect way to transform those farm-fresh eggs into something spectacular? This homemade pasta recipe is your answer! As a homesteader with my own flock of laying hens, I’ve perfected this simple yet delicious recipe that showcases the rich flavor of fresh eggs while creating a versatile staple you can enjoy immediately or preserve for later meals.
The Magic of Making Pasta With Backyard Eggs
There’s something truly special about pasta made with eggs from your own hens. The vibrant, orange yolks from free-range chickens create pasta with a depth of flavor and beautiful golden color that store-bought pasta simply can’t match. Plus, making pasta is one of my favorite ways to preserve the seasonal abundance of eggs!
Note: This post contains affiliate links to products I truly recommend. Your support helps keep this blog running! more info here
Simple Ingredients for Perfect Homemade Pasta
Prep Time: 45 minutes (including resting time)
Cook Time: 2-3 minutes
Total Time: About 1 hour
Servings: 4
Skill Level: Beginner to Intermediate
Ingredients
- 2 cups all-purpose flour, spooned & leveled
- 3 large eggs (fresh from your backyard hens is best!)
- ½ teaspoon sea salt
- ½ tablespoon extra-virgin olive oil
Equipment Needed
- Pasta machine or rolling pin I use my Kitchen aid pasta roller grab it here
- Clean work surface
- Fork
- Plastic wrap
- Sharp knife or pasta cutter
- Mason jars (if storing)
Step-by-Step Fresh Pasta Instructions
1. Create Your Flour Well
On a clean work surface, pour the flour into a mound. Use your fingers to create a well in the center large enough to hold your eggs without spilling over.
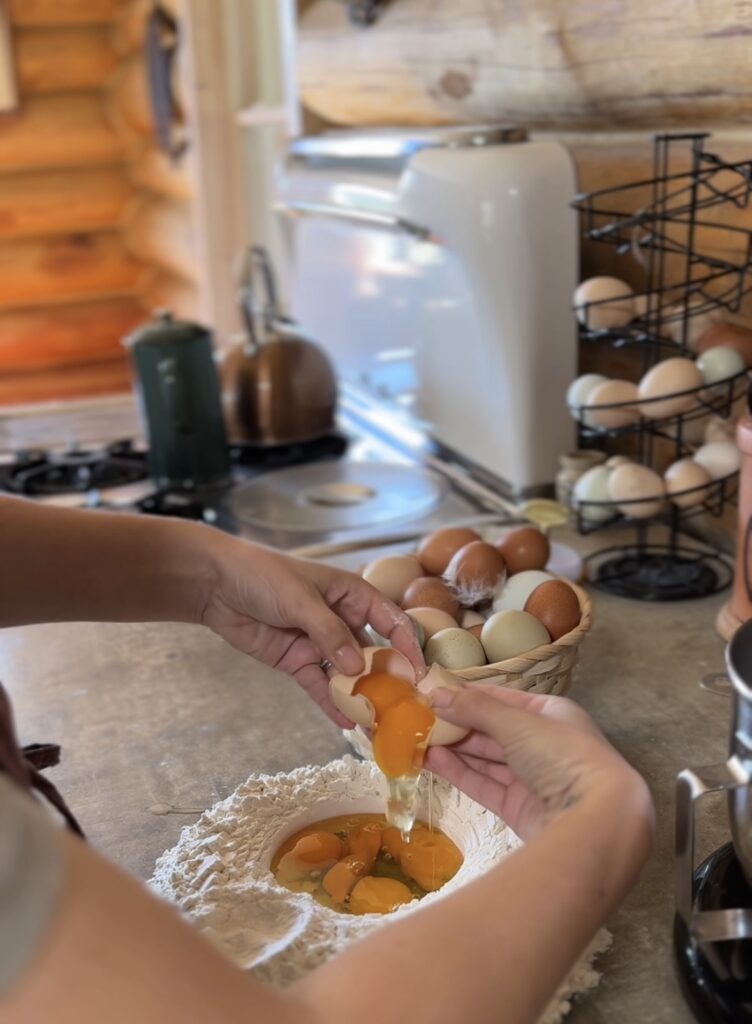
2. Add Your Farm-Fresh Eggs and Oil
Crack your beautiful backyard eggs into the well. Add the sea salt and olive oil. The fresher your eggs, the more vibrant your pasta will be!
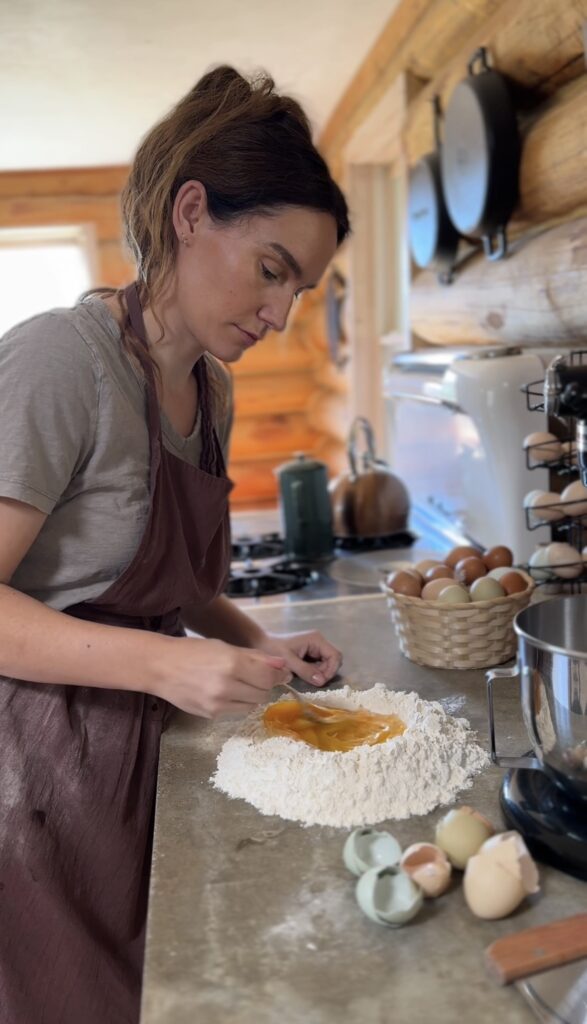
3. Begin Mixing
Using a fork, gently beat the eggs while gradually incorporating flour from the sides of the well. Continue this process until the mixture becomes too thick for the fork.
4. Knead to Perfection
Use your hands to incorporate the remaining flour and knead the dough for 8-10 minutes until smooth and elastic. This kneading develops the gluten that gives your pasta its perfect texture. If the dough feels too dry, add a few drops of water; if too sticky, dust with a bit more flour.
5. Rest Your Dough
Wrap the dough in plastic wrap and let it rest at room temperature for 30 minutes. This resting period allows the gluten to relax and makes the dough easier to roll out.
6. Roll It Out
Cut the dough into 4 manageable pieces. Work with one piece at a time, keeping the others covered to prevent drying. Flatten each piece slightly and run it through your pasta machine on the widest setting. Fold the dough in thirds, rotate 90 degrees, and run through again. Repeat 4-5 times until smooth.
7. Thin to Perfection
Gradually reduce the thickness setting on your pasta machine, rolling the dough through each setting once until you reach your desired thickness. For fettuccine or tagliatelle, the second-to-last setting is usually perfect.
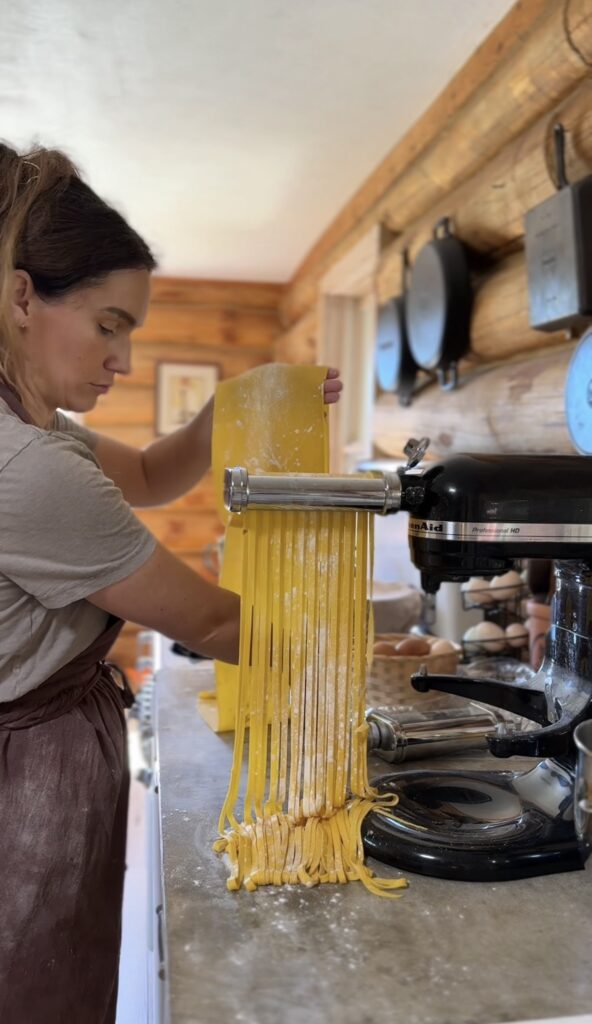
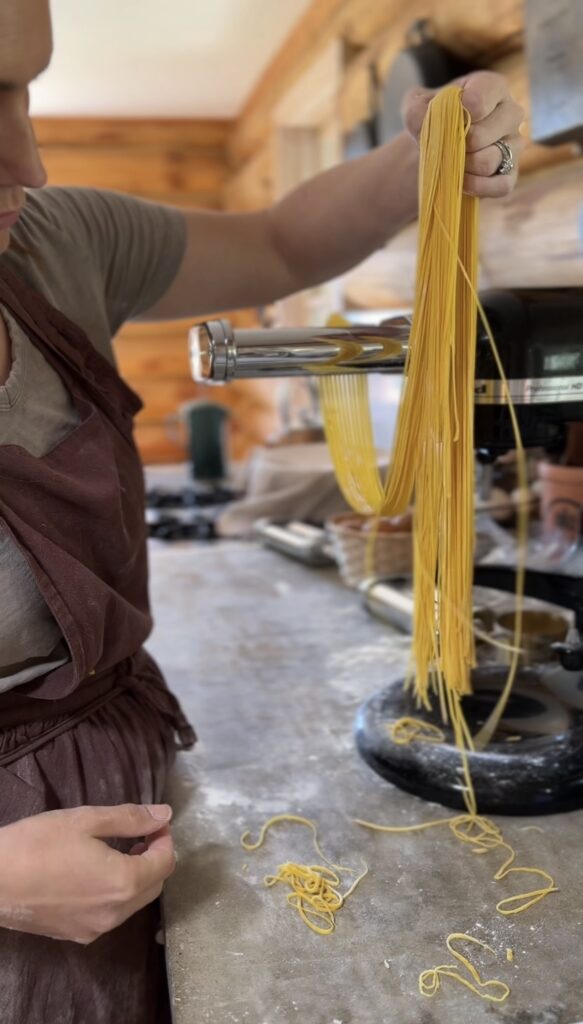
8. Cut Into Your Favorite Shape
Use your pasta machine’s cutter attachment or hand-cut with a knife into your preferred pasta shape. Fettuccine and tagliatelle are beginner-friendly options!
Two Ways to Enjoy Your Homemade Pasta
Cook Immediately
For the freshest pasta experience, drop your newly made pasta into a pot of salted boiling water. Fresh pasta cooks incredibly quickly – just 1-3 minutes until perfectly al dente! Toss with your favorite sauce and enjoy the incredible flavor and texture that only homemade pasta can provide.
Store for Later in Mason Jars
One of my favorite homesteading tricks is preserving homemade pasta in mason jars! Here’s how:
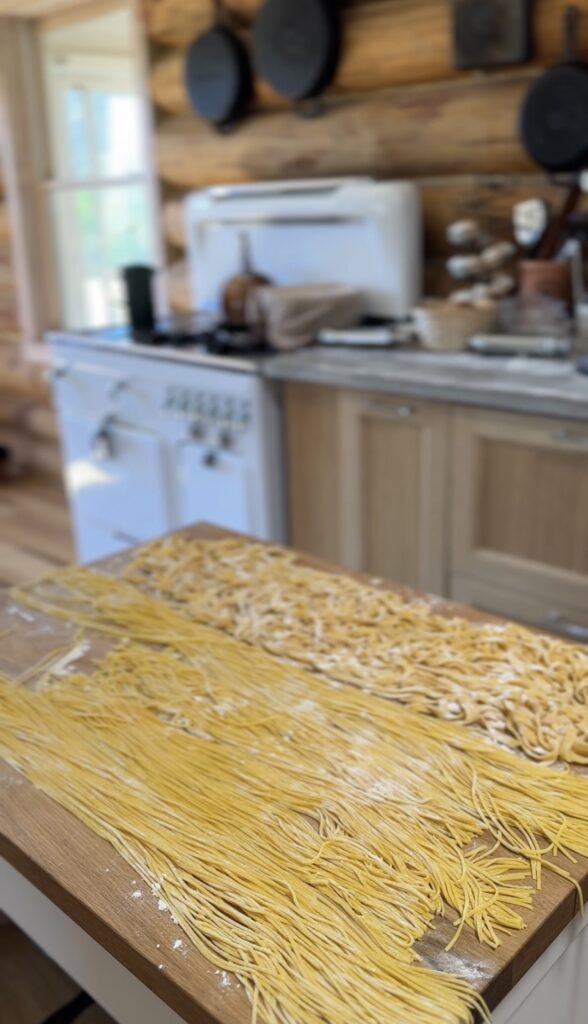
- Allow your cut pasta to dry slightly on a pasta rack or clean kitchen towel (about 30 minutes)
- Carefully place the partially dried pasta in clean mason jars
- Make sure the pasta is completely dry before sealing the jars to prevent moisture buildup
- Store in a cool, dark place
- Properly dried and stored pasta will keep for several months!
Our Homestead Pasta Story
Ever since we started keeping our own laying hens, our kitchen has been blessed with an abundance of fresh eggs. In spring and summer, when our hens are most productive, we often find ourselves with dozens of eggs each week – far more than we can eat in omelets and baking alone!
Making fresh pasta has become our favorite way to preserve this bounty. There’s something magical about transforming those vibrant orange yolks from our free-range hens into silky strands of pasta. The difference in flavor and texture compared to store-bought is remarkable – the pasta has a rich, eggy flavor that pairs perfectly with simple sauces that let the quality of the pasta itself shine through.
On weekends, we often make large batches, drying some for storage in our collection of glass mason jars while cooking the rest immediately for a family dinner. The kids love watching the transformation from simple ingredients to delicious meal, and we love knowing exactly where our food comes from – straight from our backyard to our table.
FAQ About Homemade Pasta
How long does fresh pasta last?
Fresh pasta can be refrigerated for 2-3 days. Dried homemade pasta stored in mason jars can last for several months in a cool, dark place.
Can I freeze fresh pasta?
Yes! Arrange pasta in nests on a baking sheet and freeze until solid, then transfer to freezer bags. Frozen pasta will keep for up to 3 months.
What if I don’t have a pasta machine?
While a pasta machine makes the job easier, you can absolutely use a rolling pin to roll the dough as thin as possible, then fold and cut with a sharp knife.
Can I use different flours?
Absolutely! Try substituting some of the all-purpose flour with semolina for a more traditional Italian pasta, or experiment with whole wheat flour for added nutrition.
What’s the best sauce for fresh pasta?
Fresh pasta pairs beautifully with lighter sauces that allow its delicate flavor to shine. Try a simple butter and sage sauce, a classic tomato basil, or a light cream sauce.

Homemade Pasta
Equipment
- Pasta machine or rolling pin I use my Kitchen aid pasta roller grab it here
- Clean work surface
- Fork
- Plastic wrap
- Sharp knife or pasta cutter
- Mason jars (if storing)
Ingredients
- 2 cups all-purpose flour spooned & leveled
- 3 large eggs fresh from your backyard hens is best!
- ½ teaspoon sea salt
- ½ tablespoon extra-virgin olive oil
Instructions
Create Your Flour Well
- On a clean work surface, pour the flour into a mound. Use your fingers to create a well in the center large enough to hold your eggs without spilling over.
- Add Your Farm-Fresh Eggs and Oil
- Crack your beautiful backyard eggs into the well. Add the sea salt and olive oil. The fresher your eggs, the more vibrant your pasta will be!
Begin Mixing
- Using a fork, gently beat the eggs while gradually incorporating flour from the sides of the well. Continue this process until the mixture becomes too thick for the fork.
- Knead to Perfection
- Use your hands to incorporate the remaining flour and knead the dough for 8-10 minutes until smooth and elastic. This kneading develops the gluten that gives your pasta its perfect texture. If the dough feels too dry, add a few drops of water; if too sticky, dust with a bit more flour.
Rest Your Dough
- Wrap the dough in plastic wrap and let it rest at room temperature for 30 minutes. This resting period allows the gluten to relax and makes the dough easier to roll out.
Roll It Out
- Cut the dough into 4 manageable pieces. Work with one piece at a time, keeping the others covered to prevent drying. Flatten each piece slightly and run it through your pasta machine on the widest setting. Fold the dough in thirds, rotate 90 degrees, and run through again. Repeat 4-5 times until smooth.
- Thin to Perfection
- Gradually reduce the thickness setting on your pasta machine, rolling the dough through each setting once until you reach your desired thickness. For fettuccine or tagliatelle, the second-to-last setting is usually perfect.
Cut Into Your Favorite Shape
- Use your pasta machine’s cutter attachment or hand-cut with a knife into your preferred pasta shape. Fettuccine and tagliatelle are beginner-friendly options!
- Two Ways to Enjoy Your Homemade Pasta
Cook Immediately
- For the freshest pasta experience, drop your newly made pasta into a pot of salted boiling water. Fresh pasta cooks incredibly quickly – just 1-3 minutes until perfectly al dente! Toss with your favorite sauce and enjoy the incredible flavor and texture that only homemade pasta can provide.
Store for Later in Mason Jars
- One of my favorite homesteading tricks is preserving homemade pasta in mason jars! Here’s how:
- Allow your cut pasta to dry slightly on a pasta rack or clean kitchen towel (about 30 minutes)
- Carefully place the partially dried pasta in clean mason jars
- Make sure the pasta is completely dry before sealing the jars to prevent moisture buildup
Store in a cool, dark place
- Properly dried and stored pasta will keep for several months!
Pin This Recipe for Later!
Love this recipe? Pin it to your favorite Pinterest board to save it for later