Easy Homemade Playdough Recipe That Lasts Weeks (Perfect for Kids!)
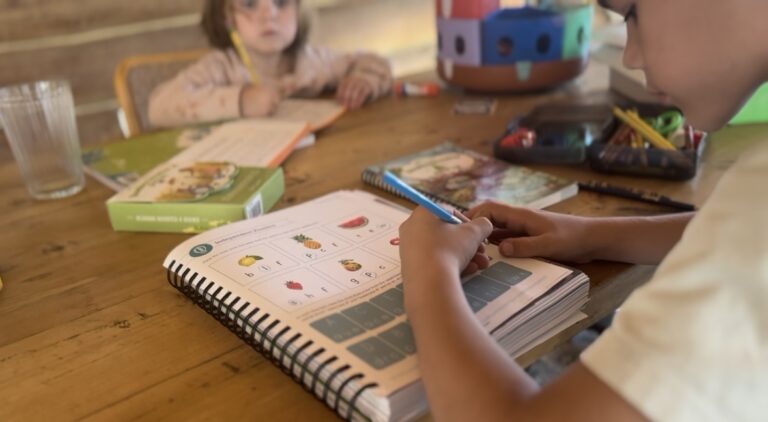
Making playdough from scratch has transformed our homeschool days! After trying dozens of recipes, this foolproof method creates the softest, longest-lasting playdough that keeps my four kids entertained for hours. Plus, it costs pennies compared to store-bought versions.
Why This Homemade Playdough Recipe Works Every Time
After years of homeschooling, I’ve discovered that the secret to perfect playdough lies in the cooking method and ingredient ratios. This recipe creates silky-smooth dough that won’t crack or crumble, even after weeks of play.
What makes this recipe special:
- Stays soft for 3-4 weeks when stored properly
- Non-toxic ingredients you already have at home
- Perfect texture that’s never too sticky or dry
- Great for sensory play and learning activities
Ingredients You’ll Need
- 2 cups all-purpose flour
- 1 cup table salt
- 2 tablespoons cream of tartar (find it in the spice aisle)
- 2 tablespoons vegetable oil or coconut oil
- 1.5 cups water
- Food coloring (gel works best)
- Optional: glitter, essential oils for scent
Cost breakdown: This entire batch costs under $2 to make versus $8+ for store-bought playdough!

Step-by-Step Instructions
Prep Time: 5 minutes | Cook Time: 3 minutes | Total Time: 8 minutes
Step 1: Mix Everything in Your Pan Get out a large Dutch oven or heavy-bottomed pan (this prevents sticking and burns). Add all dry ingredients – flour, salt, and cream of tartar – directly to the cold pan.
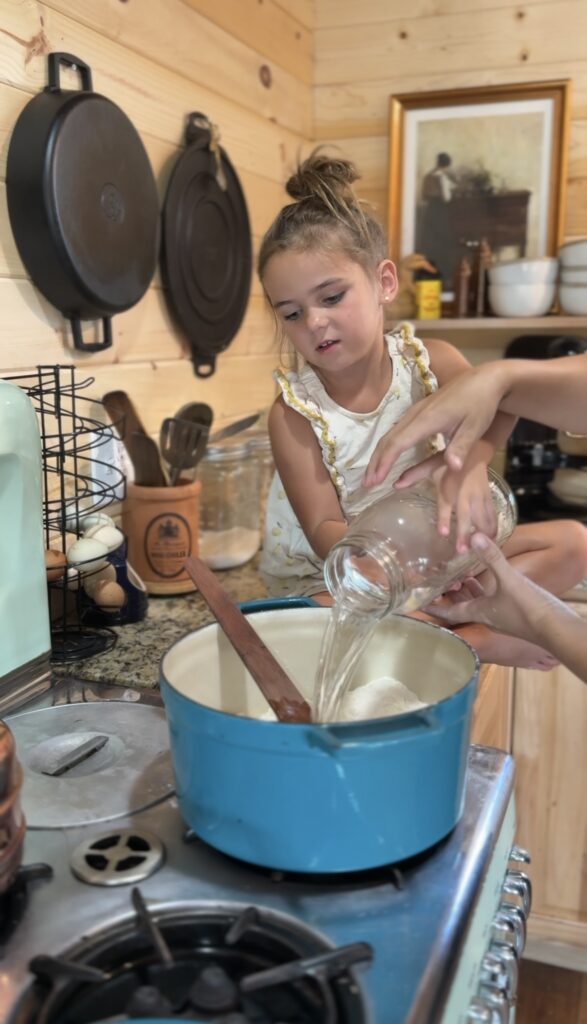
Step 2: Add Wet Ingredients Pour the oil into the pan, then gradually add water while stirring with a wooden spoon. I love this spatula from early wood. The mixture will look lumpy and rough at first – don’t worry!
Single color option: Add food coloring directly to the water before mixing for even distribution throughout the batch.
Step 3: Cook and Stir Now turn the heat to medium-low and stir constantly. Keep stirring for 2-3 minutes until the mixture transforms into a smooth ball that pulls away from the pan sides. The heavy pan ensures even heating without hot spots.
Step 4: Cool and Divide Let the dough cool for 5 minutes until safe to handle. Divide into equal portions if making multiple colors.
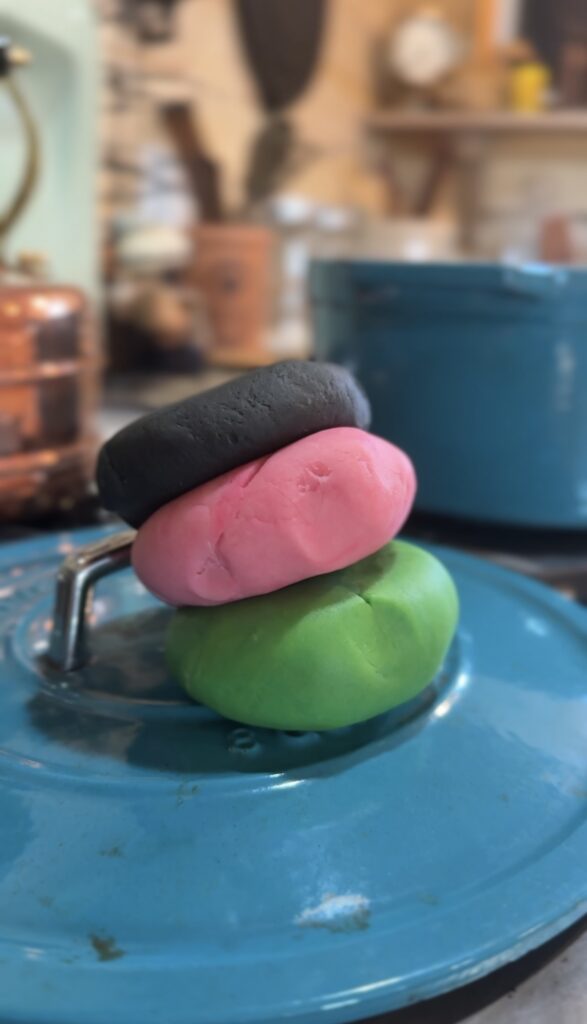
Step 5: Add Individual Colors Give each child their own portion with their chosen food coloring. Let them knead the color in themselves – they love watching the swirls blend into solid colors!
Step 6: Add Extras Sprinkle in glitter, mix in essential oils, or add texture with rice or small beads.
Pro Tips for Perfect Playdough Every Time
Storage secrets: Keep in airtight containers or ziplock bags in the refrigerator. Properly stored playdough lasts 3-4 weeks!
Texture fixes: Too sticky? Add more flour, one tablespoon at a time. Too dry? Work in a few drops of water.
Color mixing: Start with less food coloring than you think you need. You can always add more!
Cleanup hack: Use a plastic scraper to remove dried playdough from surfaces before wiping clean.
Educational Benefits That Surprise Parents
This simple recipe packs serious learning opportunities:
Math skills: Measuring ingredients, dividing portions, comparing sizes Science concepts: Chemical reactions, states of matter, mixing and combining Fine motor development: Kneading, rolling, pinching, and shaping Creative expression: Storytelling, color theory, sculpture basics Following directions: Reading recipes, sequencing steps
Troubleshooting Common Problems
Playdough too salty? Reduce salt to 3/4 cup next time. The current batch is still safe to use.
Colors bleeding together? Store different colors in separate containers to prevent mixing.
Dough getting hard? Knead in a tiny amount of oil or water to restore softness.
Sticking to hands? Dust hands and work surface with flour.
Creative Playdough Activities for Kids
- Alphabet practice: Roll snakes to form letters and numbers
- Pretend cooking: Make pretend food and host tea parties
- Science experiments: Hide small objects inside for discovery play
- Art projects: Create sculptures, bowls, and decorative items
- Sensory bins: Mix with rice, beans, or pasta for texture exploration
Money-Saving Benefits
Cost comparison per batch:
- Homemade: $1.50-$2.00
- Store-bought: $8.00-$12.00
- Annual savings: $50+ for active families
The ingredients often go on sale, so stock up when flour and cream of tartar are discounted.
Storage and Longevity Tips
Best storage methods:
- Airtight containers in the refrigerator
- Individual ziplock bags for different colors
- Glass jars with tight-fitting lids
Signs it’s time for a new batch:
- Crumbly texture that won’t smooth out
- Mold spots (rare but possible)
- Strong sour smell
Most families find they’re ready to make fresh playdough every 3-4 weeks anyway since kids love the creation process almost as much as the playing!

Easy Homemade Playdough Recipe That Lasts Weeks (Perfect for Kids!)
Ingredients
- 2 cups all-purpose flour
- 1 cup table salt
- 2 tablespoons cream of tartar find it in the spice aisle
- 2 tablespoons vegetable oil or coconut oil
- 1.5 cups water
- Food coloring gel works best
- Optional: glitter essential oils for scent
Instructions
- Step 1: Mix Everything in Your Pan Get out a large Dutch oven or heavy-bottomed pan (this prevents sticking and burns). Add all dry ingredients – flour, salt, and cream of tartar – directly to the cold pan.
- Step 2: Add Wet Ingredients Pour the oil into the pan, then gradually add water while stirring with a wooden spoon. I love this spatula from early wood. The mixture will look lumpy and rough at first – don’t worry!
- Single color option: Add food coloring directly to the water before mixing for even distribution throughout the batch.
- Step 3: Cook and Stir Now turn the heat to medium-low and stir constantly. Keep stirring for 2-3 minutes until the mixture transforms into a smooth ball that pulls away from the pan sides. The heavy pan ensures even heating without hot spots.
- Step 4: Cool and Divide Let the dough cool for 5 minutes until safe to handle. Divide into equal portions if making multiple colors.
- Step 5: Add Individual Colors Give each child their own portion with their chosen food coloring. Let them knead the color in themselves – they love watching the swirls blend into solid colors!
- Step 6: Add Extras Sprinkle in glitter, mix in essential oils, or add texture with rice or small beads.
Frequently Asked Questions
Can I make this recipe gluten-free? Yes! Substitute with gluten-free flour blend in equal amounts.
Is this recipe safe for toddlers? While non-toxic, supervise young children to prevent eating large amounts due to high salt content.
Can I double the recipe? Absolutely! Just make sure your saucepan is large enough for stirring.
What if I don’t have cream of tartar? Don’t substitute it! Cream of tartar is essential for the perfect texture and preservation. It’s what makes this playdough last weeks instead of days by acting as a natural preservative and keeping the dough from getting sticky or breaking down. It also creates that smooth, professional playdough texture that kids love. You can find it in the baking aisle of any grocery store, or order this large pot from amazon!. Trust me – it’s worth buying the real thing!
Final Thoughts
After making hundreds of batches over the years, this recipe never fails us. The kids request “playdough day” regularly, and I love that it combines learning with pure creative fun.
Whether you’re homeschooling, looking for rainy day activities, or want to save money on kids’ crafts, this recipe delivers every time. The pride on children’s faces when they create their own colorful playdough is priceless!
Pin this recipe for later and tag a friend who needs an easy kids’ activity!
What’s your family’s favorite playdough creation? Share in the comments below!