Raising Meat Chickens: What You Need to Know
How to raise your own meat chickens
Raising chickens has been a rewarding endeavor for nearly a decade now, but this year marks an exciting first for me: I’m venturing into the world of raising chickens for meat birds and butchering them. With ample land and pasture available, along with the protection of our loyal livestock dogs, I decided it was high time to give this a shot. After conducting some research, I settled on the Freedom Ranger breed—hardy, slow-growing birds that require minimal maintenance, making them an excellent choice for novice farmers raising meat chickens.

Choosing Your Birds
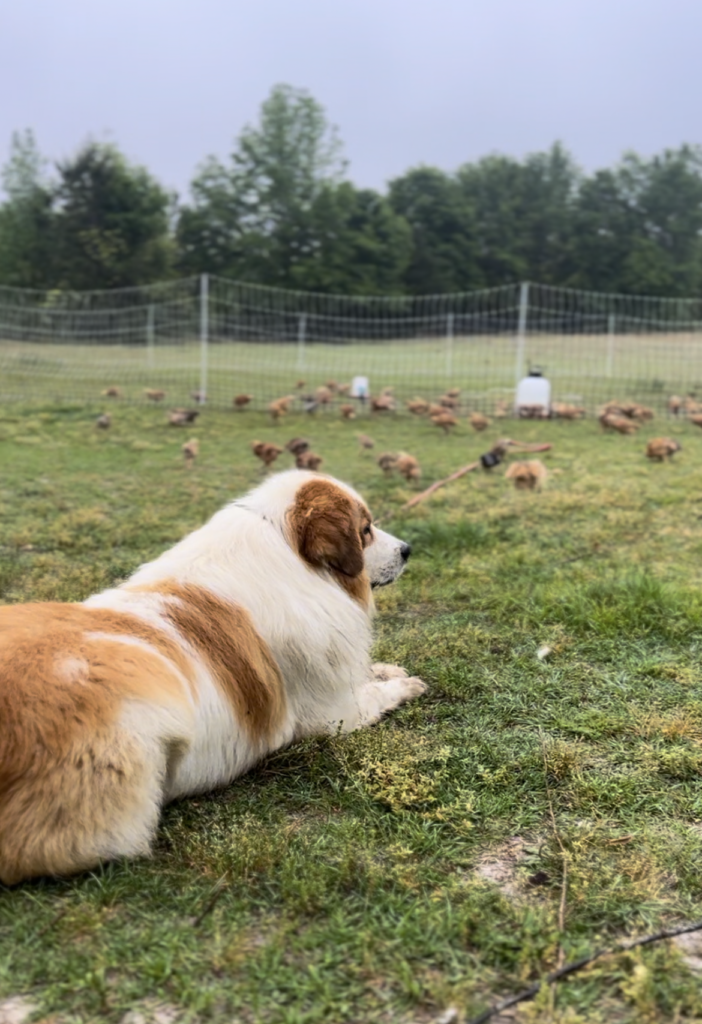
I started with a batch of 90 day-old chicks, anticipating some losses along the way. To my delight, the chicks arrived in the mail and were promptly brooded in a stock trailer. As the weeks progressed and spring blossomed, I released them into the wild—100% free-range on 17 acres of lush pasture and wooded areas. With the help of our livestock dogs, the birds thrived and grew strong, protected from predators both on land and in the sky. Raising chickens for meat is quite doable with enough space.
By the time it was time to butcher, we ended up with around 60 birds. The experience became a community effort as we invited friends to join us in the butchering process, sharing the fruits of our labor with those who lent a hand.
The Butchering Process
Transitioning from raising chickens to butchering them is a big step, but it can be done humanely and respectfully. Here’s how we approached the process of raising chickens for their meat:

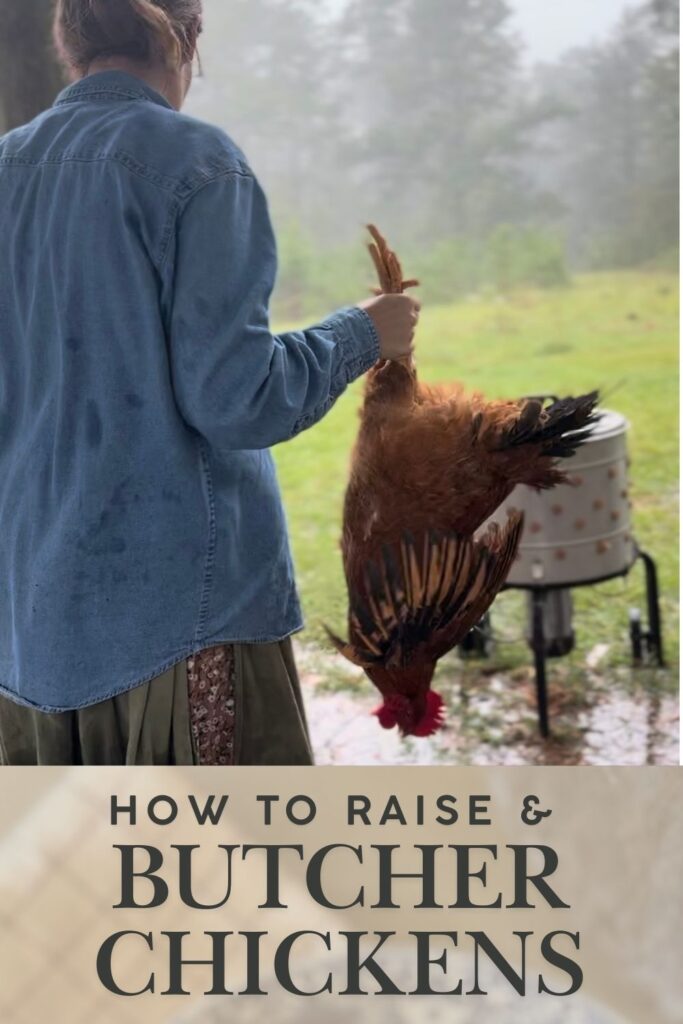
1. Humanely Slaughtering the Bird
The first step is to ensure that the bird is slaughtered humanely. We use a kill cone for this purpose. Here’s how it works:
- Hold the bird upside down and gently slide it into the cone.
- Using a sharp knife or very sharp poultry snips, cut the artery at the neck or remove the head entirely.
- Allow the bird to remain upside down for a few minutes to drain the blood. This step is crucial, as leaving blood inside the bird can shorten its freezer life.
2. De-feathering the Chicken
Once the blood has drained, the next step is to remove the feathers. You can choose to hand-pluck traditionally, or opt for a more efficient method using a plucker machine. This step is crucial when you’re raising chickens for meat as it simplifies the process. Investing in a plucking machine may be beneficial if you plan to raise multiple flocks of meat birds.
Before you begin plucking, dip the chicken in 150°F water. We use a turkey fryer with a gas burner, which allows us to control the temperature easily. When the chicken is ready, the skin will slide off the feet, and the feathers will come off with minimal effort. At this point, you can either hand-pluck or use the machine.
3. Eviscerating the Chicken
Next, it’s time to remove the internal organs. This step requires a sharp knife and careful handling when raising chickens specifically for meat:

- Start by removing the crop and neck from the bird.
- Turn the bird around and remove the feet.
- Make a careful cut above the rectum, moving outwards. Use your hands to create a larger opening, then firmly pull out all the organs, ensuring you’re gentle to avoid rupturing anything.
- Finally, cut away the rectum, being cautious not to puncture the intestines, as this could contaminate the meat with fecal matter, which may carry harmful bacteria like salmonella.
- Rinse bird inside and out.
This step underscores the importance of cooking chicken thoroughly before consumption.

Storing the Chicken
After evisceration, it’s essential to keep the chicken in ice water until you finish butchering all the birds. Once you’re done, store the chickens in freezer-safe plastic bags—special chicken bags work best for this purpose.
If you didn’t allow the chickens to rest in ice water, make sure to let them sit in the fridge for a day after defrosting before cooking. This resting period is crucial; if you skip it, the meat may turn out tough. When stored correctly in a deep freezer, your chicken should last between 6 to 12 months. This is key for those who are raising chickens for meat and want to ensure quality.
Final thoughts
Raising and butchering your meat chickens is a fulfilling experience, allowing you to connect with your food in a profound way. It’s not only about the end product; it’s also about the journey. With the right preparation and a respectful approach, raising chickens for meat can provide delicious, home-raised chicken that’s far superior to anything found in the grocery store. Happy farming, and may your chicken-raising adventures be as rewarding as mine!
Got questions?
Leave any questions you may have about raising meat birds below.


Hi do you have a YouTube with step by step process for meat chickens ?
This is awesome. Thank you for putting this together. The section on removing the organs and cutting them out while preventing contamination is the part id like to see more detail on. This seems like a crucial part and without seeing step by step pictures or a video I’d we worried to cut the wrong way. Also any chance you have a link to the plucker machine you use?
Hello, im working on more in depth information. I have a subscriber area on my IG where I go into more details of the whole process.
more subscribers reels will be posted this week. Reel audio was not uploading correctly. hoping this is has been resolved
Hi there, do you have your recipe on your homemade chicken pot pie, with the biscuits on top? Thank you so much
It’s in the works