How to Butcher A Lamb at Home: From Carcass to Cuts
The art of butchering lamb involves two distinct phases:
- Initial Processing: Skinning and quartering the lamb to get it chilling (requires uninterrupted time)
- Final Butchering: Breaking down the quarters into specific cuts (can be done after aging)
Before beginning Phase 1, understand that the initial processing requires several hours of uninterrupted work. Phase 2 comes after a minimum 7-day aging period, giving you time to research and plan your cuts.
Important Timing Considerations
Choose your initial processing day carefully. This is especially crucial for first-time butchers – plan to dedicate your entire day to getting the lamb skinned, quartered, and into the refrigerator. The process takes longer when you’re learning, and it’s better to have extra time than to feel rushed

Phase 1 – Initial Processing
Never start this process:
- Before work or other time commitments
- Late in the evening
- When you might be interrupted
- When you don’t have a full day (if it’s your first time)
You need enough uninterrupted time to
- Complete the entire skinning process
- Quarter the animal to fit in meat storage containers
- Get all meat properly chilled
Starting without enough time to finish properly can compromise both meat quality and food safety. Experienced butchers may work faster, but beginners should always plan for a full day.
Wrapping and Storage
Specific wrapping method for freezing:
- Double wrap in butcher paper (two complete layers)
- Fold ends neatly and securely
- Use proper butcher tape to hold paper layers in place
- Do not substitute with regular household tape
- Add a single layer of foil over the taped paper
- Label directly on the package with a Sharpie marker:
- Type of meat (lamb)
- Specific cut name
This triple-layer method provides good protection in the freezer while avoiding plastic use. Using proper butcher tape ensures the paper stays securely wrapped, while neat folding helps prevent freezer burn. This guide will walk you through the process of breaking down a lamb carcass into common retail cuts, with an emphasis on food safety and minimal waste.
Essential Equipment
Before beginning, ensure you have:
- A clean, sanitized work surface
- Sharp knife for meat (the only blade you’ll need for most work) These are my go to knives
- Bone saw (use ONLY on clean bone – never cut meat with it as bone dust will ruin the meat) grab one here
- Clean storage containers meat tubs
- Food-grade sanitizer
- Clean cloths/paper towels
Initial Steps
Organ Removal
- Make a small initial hole in the belly area
- Use your fingers as a guide behind the cut to prevent the knife from piercing organs
- Work your way up carefully, keeping fingers between knife and organs
- Remove all internal organs
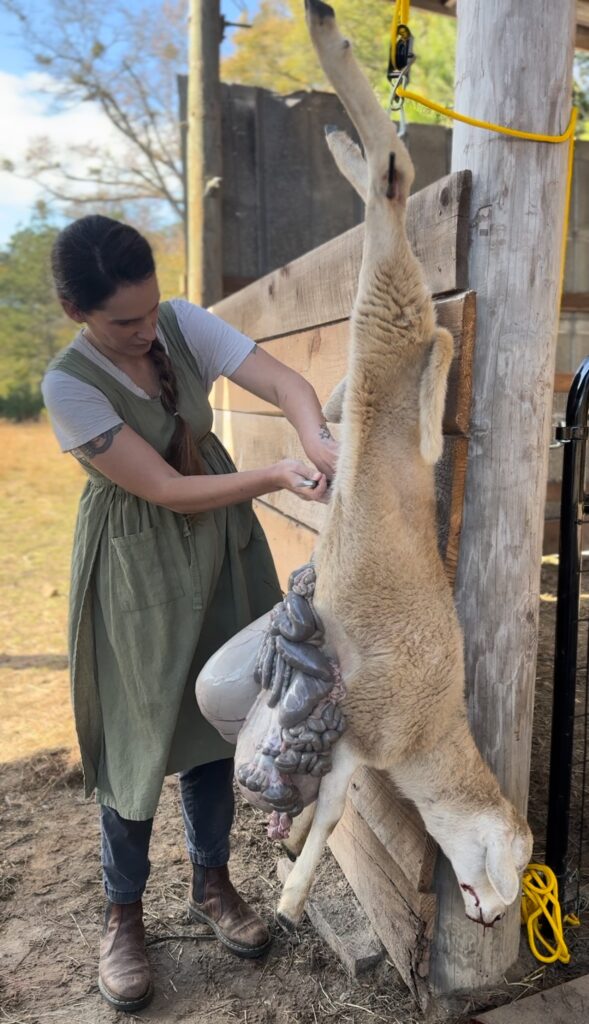
Disposing of organs:
- Can be fed to dogs or chickens if you have them
- May be buried away from living areas
- Can be disposed of in woods far from your workspace
- Never leave organs near your butchering area
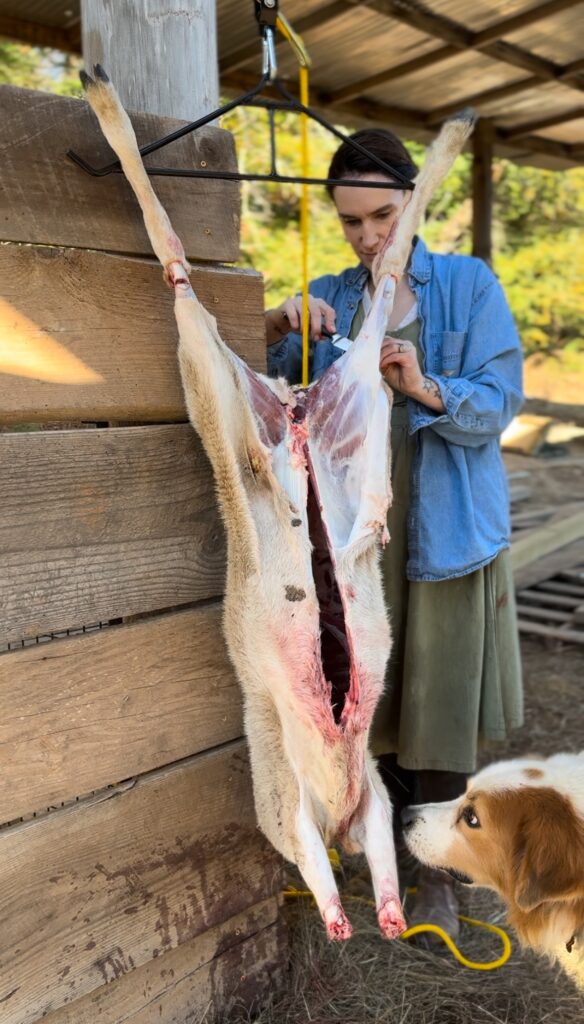
Hanging and Skinning
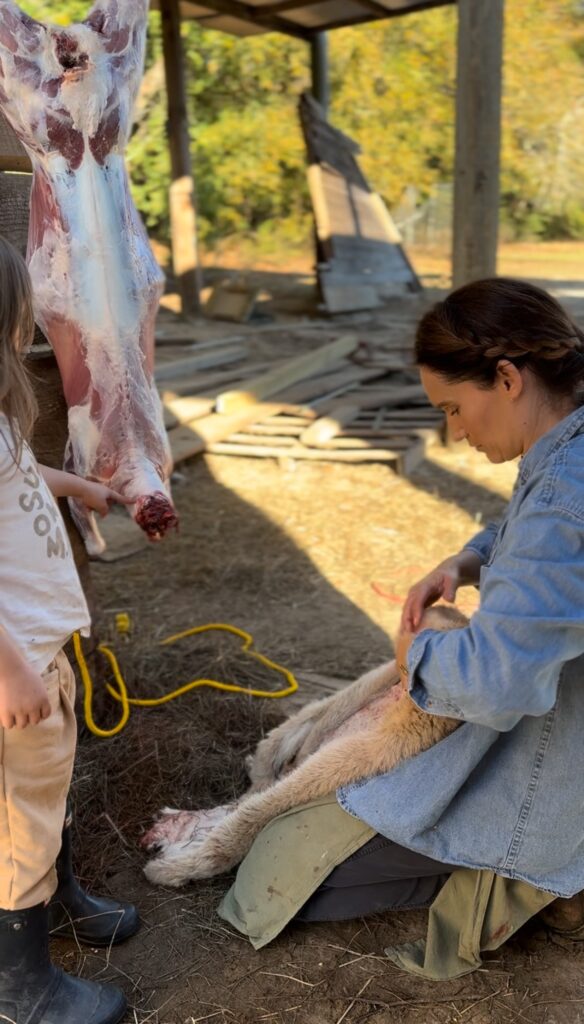
One of the most crucial and time-consuming parts of butchering is properly skinning the lamb. This process requires genuine patience – rushing will only lead to mistakes.
- Hanging Setup
- Use a butcher winch to suspend the lamb by its back legs buy one here I like this one
- Ensure the height is adjustable – you’ll want the work area at a comfortable level
- Make initial cuts carefully, avoiding the crucial leg tendons that support the weight
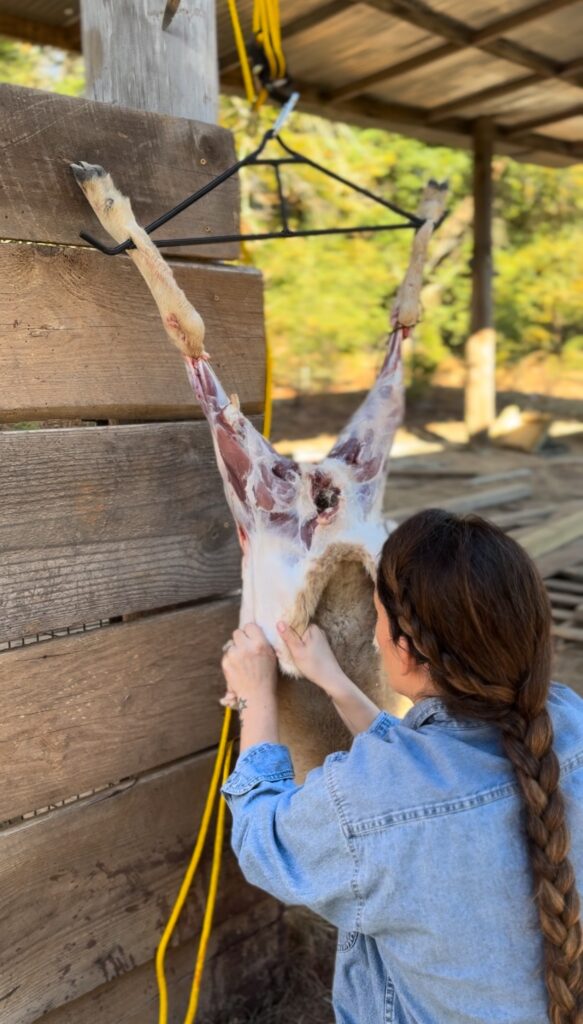
- Skinning Technique
- Start cuts away from tendon areas, working downward
- Keep your knife blade parallel to the meat surface, using a shaving motion
- Pull the hide steadily while slicing the connecting membranes
- Work methodically around stuck spots – these require extra patience
- Take extra care around leg areas where the hide is thinner
- Slow down especially when working these delicate sections
- Avoid rushing even if the hide seems to be coming away easily
- Keep your knife strokes controlled and deliberate
- If planning to tan the hide, be especially careful to avoid holes
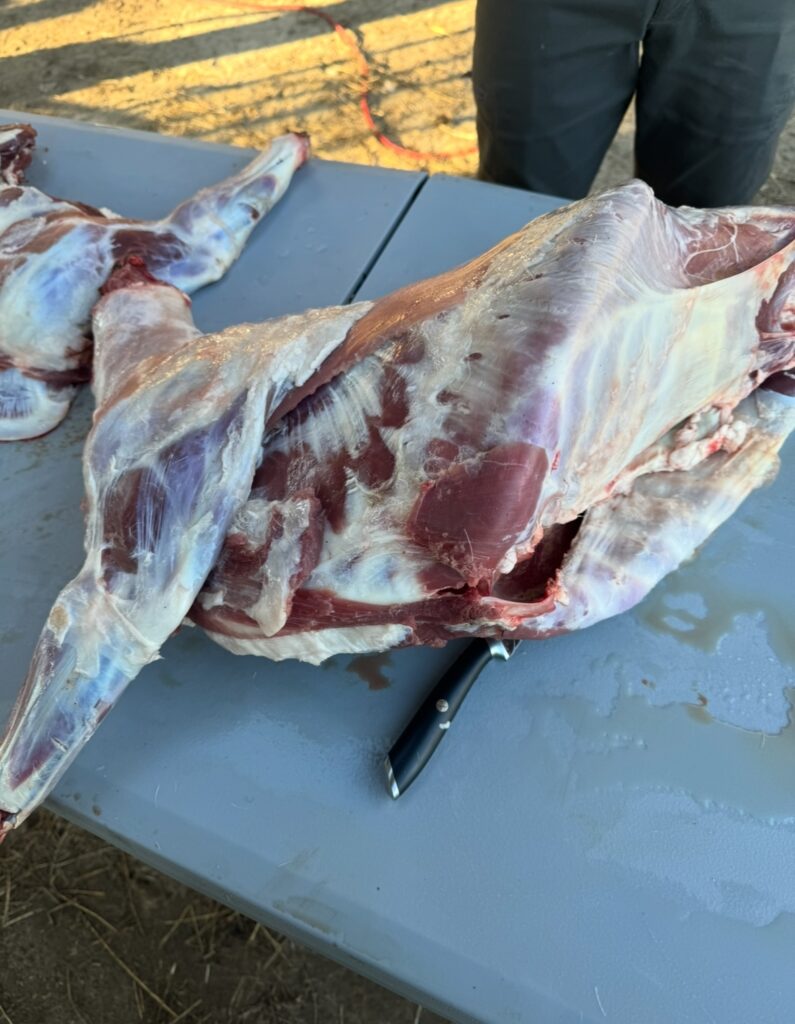
Initial Preparation
- Temperature Control
Ensure the carcass is properly chilled (35-40°F/1.6-4.4°C). A room temperature of 50°F/10°C or below is ideal for butchering. Work quickly and return unused portions to refrigeration. - Workspace Setup
Sanitize all surfaces and tools. Set up separate areas for cutting, trimming, and packaging. Keep a sanitizer bucket nearby for cleaning tools between cuts.
Final Butchering – Choosing Your Cuts
There is no single “correct” way to break down a lamb – the best approach depends on:
- Your cooking preferences
- Family size and portion needs
- Cultural traditions
- Specific cuts you enjoy
During the aging period, take time to:
- Research different butchering styles and techniques
- Watch instructional videos from experienced butchers
- Consider which cuts will work best for your needs
- Plan how you’ll use different parts of the animal
Common approaches include:
- Traditional Western butchering (rack, loin, leg cuts)
- Middle Eastern style
- Mediterranean cuts
- Custom breakdown for specific dishes
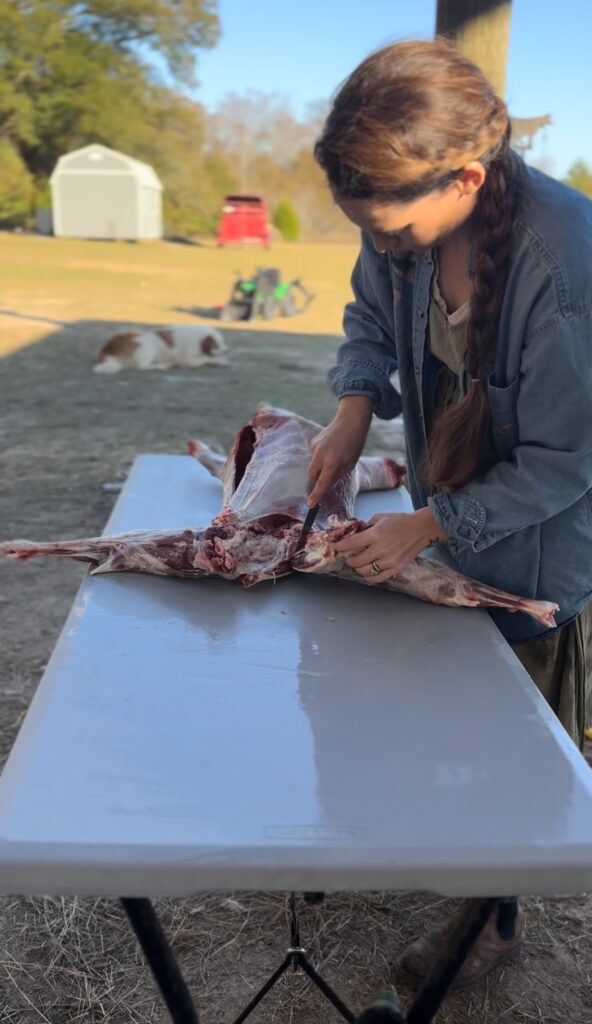
Resources:
- Look for butchering videos on YouTube that match your goals
- Consider local cooking traditions
- Think about which cuts work best for your favorite recipes
Step 2: The Shoulder
The shoulder yields several valuable cuts:
- Square-cut shoulder roast
- Blade chops
- Arm chops
- Ground meat trimmings
Make your initial cut between the 5th and 6th ribs, separating the shoulder from the rack. Follow the natural seam between muscles when possible to ensure clean separation.
Step 3: The Rack
The rack section produces some of the most prized cuts:
- Frenched rib chops
- Crown roast
- Riblets
To French the rack, score the fat and meat between rib bones 2 inches from the eye muscle. Clean the bones by scraping upward, removing all meat and sinew for a clean presentation.
Step 4: The Loin
The loin section yields:
- Loin chops
- Boneless loin roast
- Tenderloin
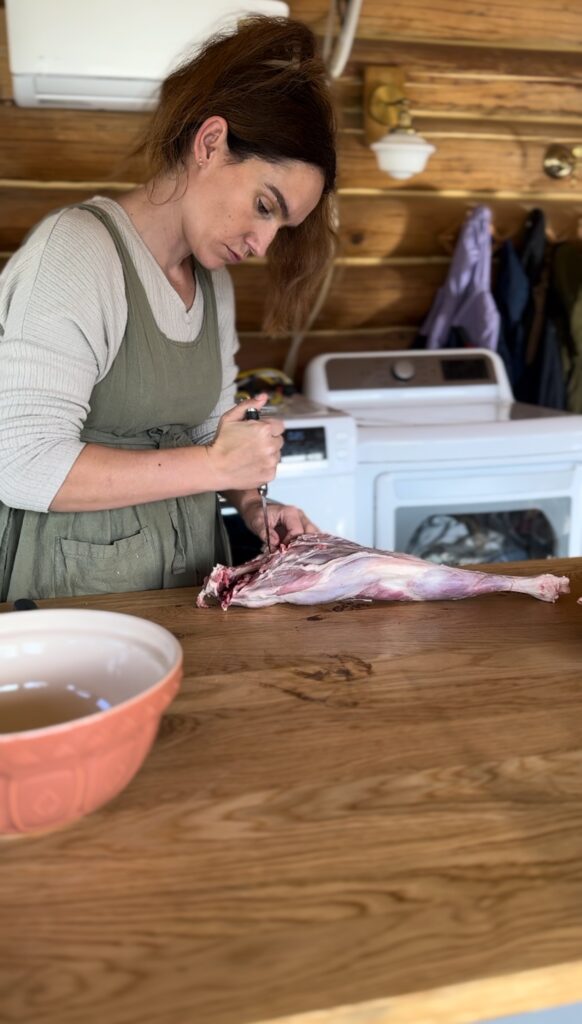
Separate the loin from the leg at the hip bone. Remove the tenderloin carefully, following the natural muscle separation. For loin chops, cut perpendicular to the spine at 1-1.5 inch intervals.
Step 5: The Leg
The leg can be prepared as:
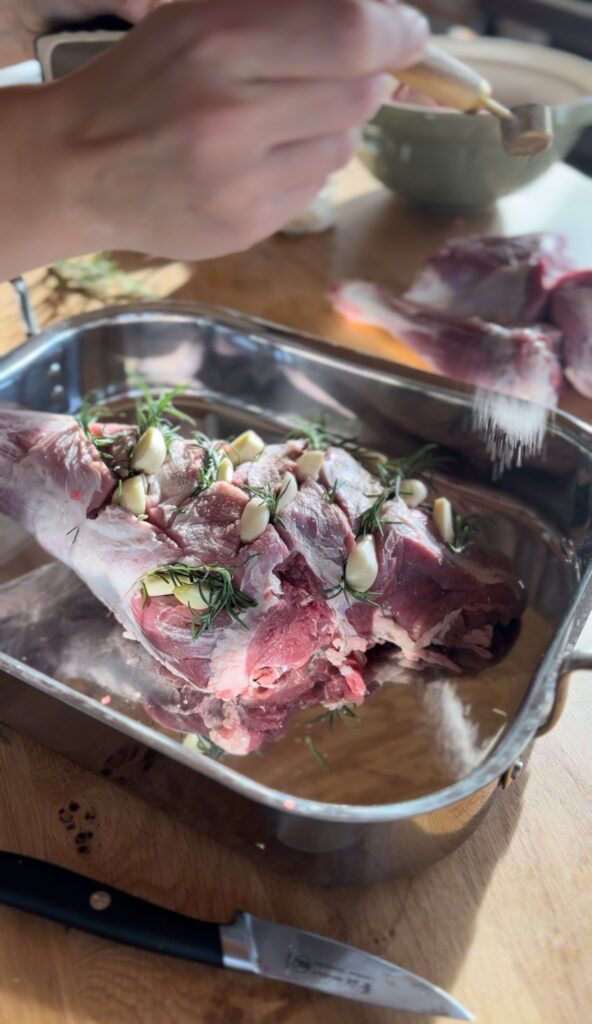
- Whole leg roast
- Sirloin chops
- Butterflied leg
- Individual muscles for kebabs
To butterfly, cut along the leg bone, carefully separating meat from bone while keeping the muscle groups intact. Roll and tie for even cooking.
Trimming and Final Preparation
- Fat Trimming
Leave 1/4 inch of fat on most cuts for flavor and moisture. Remove any glands or silver skin. - Packaging
Wrap cuts in butcher paper or vacuum seal. Label with:
- Cut name
- Date
- Weight
- Storage instructions
Food Safety Considerations
- Temperature Control
- Monitor meat temperature throughout processing
- Keep tools and surfaces below 40°F/4.4°C
- Package and refrigerate cuts immediately
- Cross-Contamination Prevention
- Change cutting boards between different sections
- Sanitize tools frequently
- Wear clean protective equipment
- Storage Guidelines
- Fresh cuts: use within 3-5 days
- Frozen cuts: use within 6-9 months
- Store at or below 35°F/1.6°C
Yield Expectations
From a typical 45-50 pound lamb carcass, expect approximately:
- 35% legs
- 25% shoulder
- 20% rack and loin
- 20% breast, flank, and trim
Tips for Quality Results
- Keep your knife sharp – dull blades tear meat and create waste
- Follow natural muscle seams whenever possible
- Make decisive, clean cuts
- Work systematically from one section to the next
- Keep detailed yield records for future reference
Remember that butchering is both an art and a science. With practice, you’ll develop an eye for the natural seams between muscles and an understanding of how to maximize the yield from each carcass.
Resources for Further Learning
Consider joining a butchering workshop or seeking mentorship from an experienced butcher. The investment in proper technique will pay dividends in quality and yield..